Why Saddle-Stitch Booklet Binding Still Matters for Professional Print Projects
@zzl5h684mr
If you have ever held a printed booklet that lies perfectly flat when opened, you have likely experienced saddle-stitch booklet binding. This method, which uses a stapler to fasten folded sheets along the spine, is one of the most common binding techniques in commercial printing. Despite the rise of digital media, saddle stitching remains a go-to choice for catalogs, event programs, training manuals, and marketing collateral. It balances cost, durability, and a polished look that few other bindings can match at a comparable price.
I have worked with dozens of print buyers who initially assume that any bound booklet requires expensive perfect binding or spiral binding. But once they see the clean, open-flat performance of a saddle-stitched piece, they often change their approach. The key is knowing when this binding style fits the project and when it does not. That understanding comes from thinking about page count, paper weight, and how the finished piece will be used.
How Saddle-Stitching Works in Practice
A saddle-stitch booklet binding begins with the printer folding printed sheets into signatures. These signatures are nested inside each other like a magazine. Then a binding machine, typically a heavy-duty stapler, drives two or more staples through the fold line. The result is a booklet that opens flat, unlike a perfect bound book that fights back when you try to lay it open.
The process demands precision. The printer must set up crop marks correctly so that trimming happens exactly after binding. Bleed is also essential: any image or color block that extends to the edge of the page must bleed past the trim line by at least one-eighth of an inch. If the bleed is missing, you end up with a white sliver at the edge after trimming. I have seen projects ruined by that oversight.
A digital printing press handles saddle-stitch jobs well for short to medium runs. For larger quantities, offset printing becomes more economical. The trade-off is setup time. A digital press can start printing almost immediately, while offset requires plate making and a makeready process. But offset delivers sharper color consistency, especially when the printer uses a spectrophotometer to calibrate color across the run.

Paper Weight and Cover Stock Choices
One of the first decisions in saddle-stitch booklet binding is selecting the paper weight for the inside pages and the cover stock. Inside pages typically use a 60 lb to 80 lb text weight. That range gives enough opacity to prevent show-through while keeping the booklet thin enough to staple. If you go too heavy, the stapler may struggle to penetrate the stack, and the spine may bulge.
The cover stock needs to be heavier, usually a 100 lb cover or a 120 lb cover. This protects the inner pages and gives the booklet a substantial feel. A common mistake is using the same paper for the cover as for the inside. That creates a self-cover, which saves money but lacks durability. For a piece that will be handled repeatedly, like a training manual or a product brochure, a separate cover stock with lamination adds significant wear resistance.
Lamination on the cover also prevents fingerprints and scuffs. I recommend a matte lamination for a soft, professional touch, or a gloss lamination if the piece includes vibrant product photography. The lamination process applies a thin plastic film to the cover, which also helps the booklet hold up during mailing, especially if it is designed as a self-mailer.
Comparing Saddle-Stitching to Other Bindings
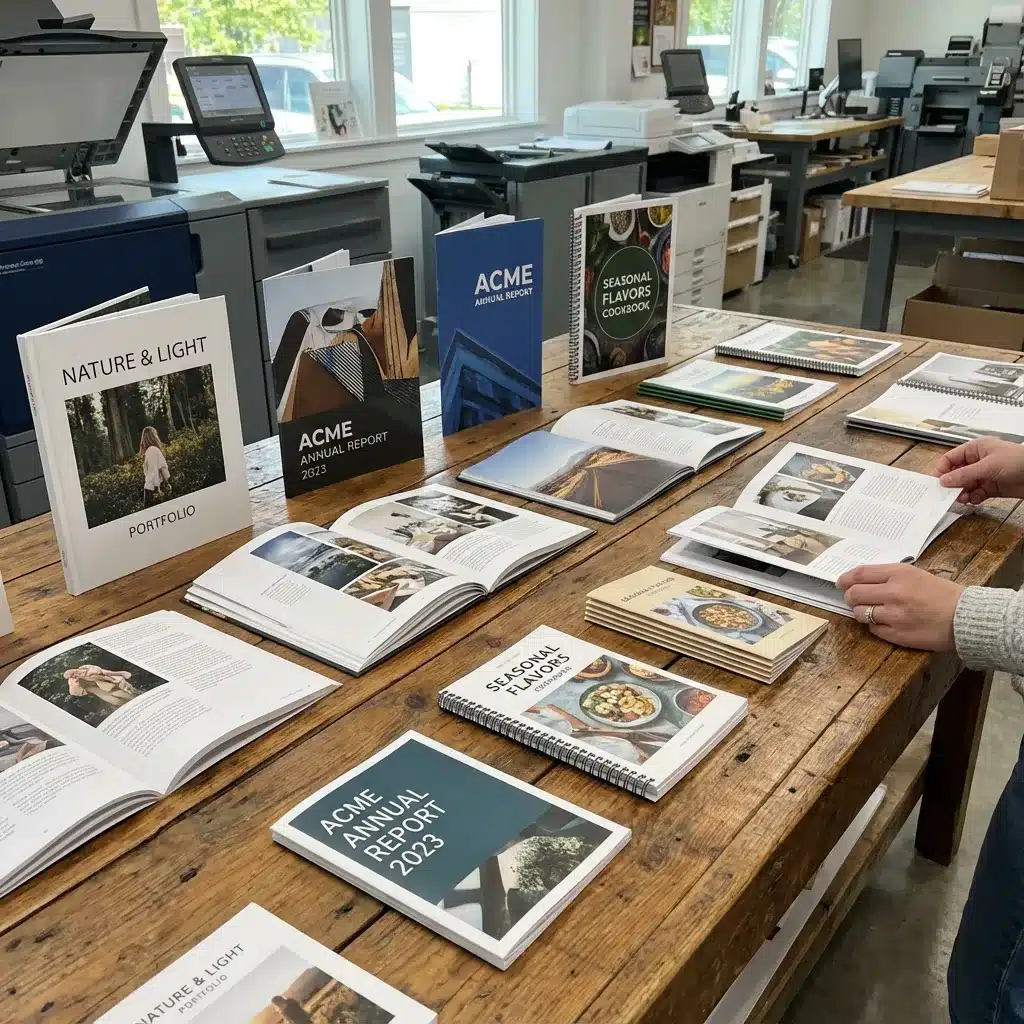
Every binding method has strengths and weaknesses. Saddle-stitch booklet binding excels for booklets with a low page count, typically up to 64 pages depending on paper weight. Beyond that, the spine becomes too thick for the staples to hold securely, and the inner pages may creep outward.
Spiral binding, also called coil binding, uses a plastic coil that winds through holes punched along the spine. It lies flat and allows the booklet to fold back on itself, which is great for notebooks and reference manuals. But spiral binding costs more per unit and requires a different binding machine. It also takes longer to produce because the coil must be inserted by hand or by a semi-automatic machine.
Comb binding uses a plastic comb with teeth that fit into rectangular holes. It is reusable and inexpensive, but the comb creates a bulky spine that does not look as clean as saddle stitching. Comb-bound documents also do not stack neatly because the comb protrudes.
Perfect binding, used for paperback books, glues the spine of the pages together and attaches a wrap-around cover. It looks professional for thick books, but it does not open flat. The glue also can crack over time, especially in dry climates. For short-run booklet printing, perfect binding has a higher setup cost than saddle stitching.
Wire-O binding uses a double-loop wire that fits into holes. It allows the booklet to open 360 degrees and is common for presentations and calendars. But like spiral binding, it adds cost and production time. For a straightforward marketing booklet, saddle stitching often delivers the best value.
Practical Considerations for Design and Production
When I work with designers on a saddle-stitch project, I always remind them about folding. The paper grain should run parallel to the spine for a clean fold. If the grain runs the wrong way, the paper may crack along the fold line, especially on heavy cover stock. A good print shop will check this before running the job, but it helps to specify it in the job ticket.
Trimming is another step where problems appear. After the booklet is stapled, the three open edges are trimmed to create a smooth, even finish. If the printer does not account for creep, the inner pages may be slightly narrower than the outer pages after trimming. Creep is the slight shift of inner pages toward the edge when signatures are nested. Experienced printers adjust the layout to compensate.
For booklets that will be mailed, a self-mailer design eliminates the need for an envelope. The printer adds a mailing panel on the back cover, and the saddle stitching holds the piece together through postal handling. Adding a tear-off card or a reply envelope inside the booklet is also possible, but it adds thickness and may require a different binding approach.
Color accuracy matters for branding. A printer with a spectrophotometer can measure color values and adjust the press to match a brand's Pantone or CMYK specification. For a short run on a digital printing press, the printer can produce a proof before the full run. That proof lets you check color, image sharpness, and the placement of crop marks and bleed. I always request a physical proof, not just a PDF, because the paper stock changes how color appears.
When to Choose Saddle-Stitch Booklet Binding
Saddle-stitch booklet binding works best for projects that range from eight to sixty-four pages. Common examples include event programs, product catalogs, training manuals, and company brochures. It is also a good choice for portfolios and lookbooks where the visual impact of a flat-opening spread matters.
If your project needs to accommodate a high page count or heavy paper weight, consider perfect binding or spiral binding instead. But for most marketing and informational booklets, saddle stitching provides a durable, cost-effective finish. The staples hold up well under normal use, and the binding does not add extra spine width that wastes shelf space.
One detail that surprises many people is that saddle-stitched booklets can include fold-out pages or inserts. A printer can bind a single folded sheet into the booklet as a gatefold or a map. The saddle stitching holds it in place, and the reader can unfold it for a larger layout. That technique is common in travel brochures and annual reports.

Another advantage is the ability to combine saddle stitching with other finishing options. For example, a booklet might have a cover with lamination and spot UV coating, while the inside pages remain uncoated for easy writing. The binding machine handles the stapling after all the finishing steps are complete. That flexibility makes saddle-stitch booklet binding a favorite among print buyers who want a professional result without the complexity of more expensive bindings.
Final Thoughts on Choosing a Binding Method
Every printing project has its own constraints and goals. Saddle stitching offers a practical solution for booklets that need to look good, open flat, and stay within a modest budget. It is not the right choice for every job, but when the page count and paper weight align, it outperforms comb binding, wire-O binding, and spiral binding in both cost and speed.
The next time you plan a booklet, talk to your printer about the specifics: the page count, the paper weight, the cover stock, and how the piece will be used. Ask about the binding machine they use and whether they adjust for creep and bleed. A good print shop will guide you toward saddle-stitch booklet binding if it fits, and they will explain why when it does not. That kind of expertise saves time, money, and frustration.